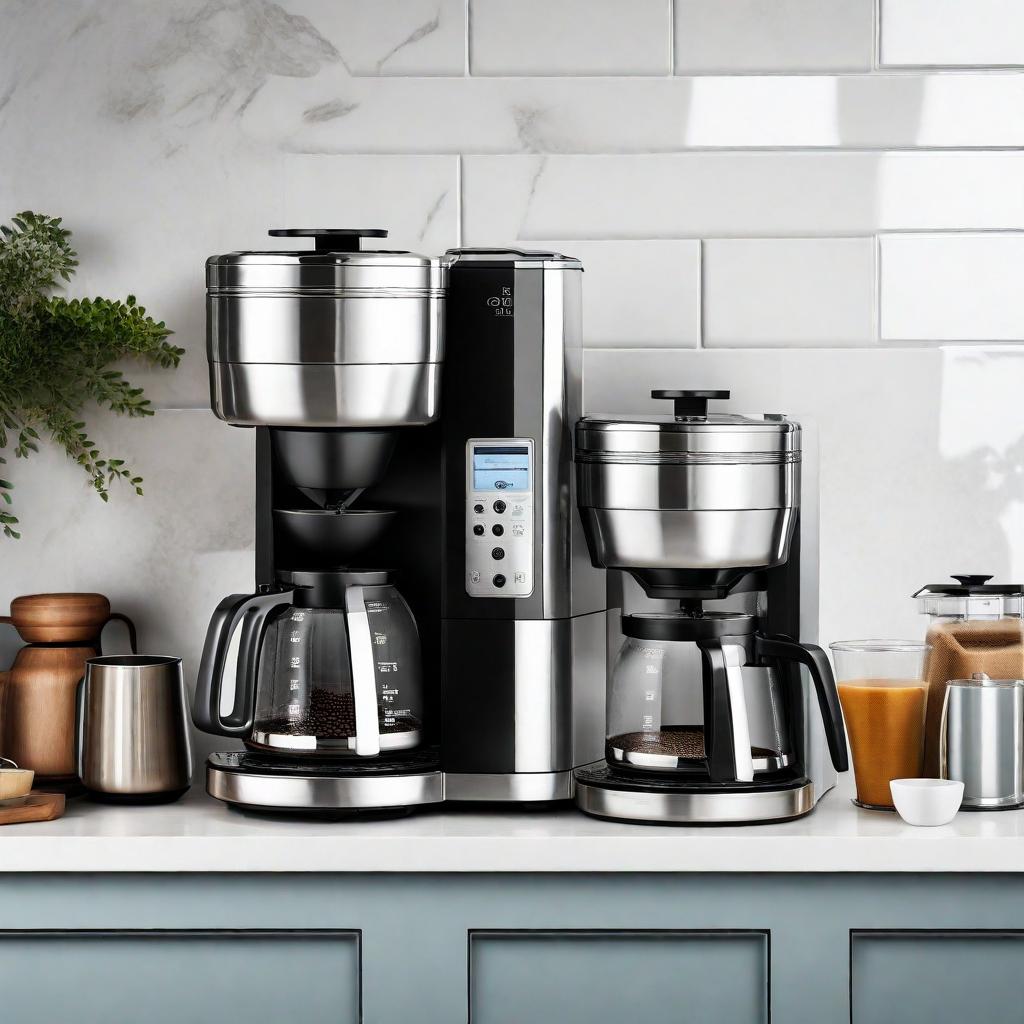
So you’ve been enjoying your daily cup of coffee from your trusty coffee maker, but have you ever wondered how to keep it clean and ensure the best possible taste? Look no further! In this article, we will share a simple and effective method How To Clean Coffee Maker With Vinegar?
With just a few easy steps, you’ll have a squeaky clean coffee maker ready to brew your favorite morning cup of joe. Say goodbye to any lingering residue or mineral buildup and hello to a fresher, tastier coffee experience. Let’s get started!
Materials Needed
To clean your coffee maker with vinegar, you will need the following materials:
Vinegar

Vinegar is a powerful cleaning agent that can effectively remove mineral deposits and buildup in your coffee maker. Opt for white distilled vinegar for best results.
What Pan Is Best For Grilling?
Water
Water is necessary to dilute the vinegar and create a cleaning solution. You will need enough water to fill the water reservoir and carafe.
Soap or Dish Detergent
Using a mild dish detergent or soap can help remove any leftover oils or residue from the coffee maker components. Make sure to use a non-abrasive soap that is safe for your coffee maker.
Cleaning Brush

A cleaning brush with soft bristles is essential for scrubbing hard-to-reach areas, such as the carafe and filter basket. Look for a brush specifically designed for coffee maker cleaning.
Cloth or Sponge
A soft cloth or sponge will be used to wipe down the exterior of the coffee maker and remove any dirt or grime. Choose a non-abrasive cloth or sponge to avoid scratching the surface.
Empty Container
You will need an empty container to collect the water and vinegar solution as it runs through the coffee maker. This can be a separate container or simply the carafe itself.
Preparing Your Coffee Maker
Before starting the cleaning process, it’s important to prepare your coffee maker properly. Follow these steps:
Empty the Coffee Maker
Start by emptying the coffee maker of any leftover coffee grounds or water. Discard the used coffee filter and rinse out the filter basket.
Remove and Clean Removable Parts
Carefully remove any removable parts from the coffee maker, such as the carafe, filter basket, and water reservoir. These parts will be cleaned separately later on.
Wash the Carafe and Filter Basket
Fill your sink with warm water and a small amount of dish detergent. Place the carafe and filter basket into the soapy water and use a gentle brush or sponge to scrub away any residue. Rinse thoroughly with clean water.
Wipe the Exterior of the Coffee Maker
Using a damp cloth or sponge, wipe down the exterior of the coffee maker to remove any dust or dirt. Pay special attention to buttons and crevices where grime can accumulate.
Cleaning with Vinegar
Vinegar is an excellent natural cleaning agent that helps to remove mineral deposits and bacteria that can accumulate in your coffee maker. Follow these steps to clean your coffee maker with vinegar:
What Size Grill Do I Need For 2 People?
Mix Vinegar and Water Solution
In a clean container or directly in the water reservoir, mix equal parts white vinegar and water. The exact amount will depend on the size of your coffee maker, but a good starting point is 1 cup of each.
Run the Vinegar Solution Through the Coffee Maker
Pour the vinegar and water solution into the water reservoir of your coffee maker. Place an empty container, such as the carafe, under the brew basket to collect the solution.
Start the brewing cycle, as if you were making a pot of coffee, but without any coffee or filter. Allow the vinegar solution to cycle through the coffee maker, emptying into the container.
Let the Vinegar Solution Sit
Once the vinegar solution has cycled through the coffee maker, turn off the machine and let it sit for about 15-20 minutes. This will allow the vinegar to work on removing any stubborn stains or buildup.
Run Plain Water Through the Coffee Maker to Rinse
After the vinegar solution has sat, discard the solution and rinse out the water reservoir. Fill the reservoir with clean water and run it through the coffee maker one or two more times to thoroughly rinse out any remaining vinegar.
Cleaning the Coffee Pot
The coffee pot, also known as the carafe, can often accumulate stains and residue from brewing coffee. Follow these steps to clean your coffee pot properly:
Fill the Carafe with Vinegar and Water Solution
Start by filling the carafe with a mixture of equal parts white vinegar and water. The amount of solution needed will depend on the size of your carafe.
Let the Solution Sit in the Carafe
Allow the vinegar and water solution to sit in the carafe for approximately 15-20 minutes. This will help break down any stains or residue.
Scrub the Inside of the Carafe
After the solution has had time to sit, use a cleaning brush or sponge to scrub the inside of the carafe. Pay close attention to the bottom and sides, as these areas are more prone to build-up.
Rinse the Carafe Thoroughly
Once the inside of the carafe is thoroughly scrubbed, rinse it out with clean water multiple times to remove any vinegar residue. Ensure that no traces of vinegar are left behind before using the carafe again.
Cleaning the Filter Basket
The filter basket is responsible for holding the coffee filter and grounds during the brewing process. Follow these steps to clean the filter basket effectively:
Remove the Coffee Filter
Start by removing the used coffee filter from the filter basket. Discard the filter and any remaining coffee grounds.
Scrub the Filter Basket
Using a cleaning brush or sponge, scrub the inside and outside of the filter basket to remove any residue or stains. Pay attention to the small holes in the basket, as they can easily become clogged.
Rinse the Filter Basket
Once the filter basket is thoroughly scrubbed, rinse it under clean running water to remove any loosened residue. Ensure that all debris is removed before placing the filter basket back into the coffee maker.
Cleaning the Water Reservoir
The water reservoir is where you pour the water that will be heated and brewed into coffee. It is essential to keep this part clean to avoid any contamination. Follow these steps to clean the water reservoir properly:
Empty and Remove the Water Reservoir
Start by emptying any remaining water from the water reservoir. Then, carefully remove the water reservoir from the coffee maker. Refer to your coffee maker’s instruction manual if you are unsure how to remove the reservoir.
Wash the Water Reservoir
Fill your sink with warm soapy water, and place the water reservoir into the soapy water. Use a sponge or cloth to clean the inside and outside of the reservoir, making sure to remove any built-up residue or mineral deposits.
Rinse the Water Reservoir
Once the water reservoir is clean, rinse it thoroughly under running water to remove any soap residue. Ensure that all surfaces of the reservoir are rinsed clean before reattaching it to the coffee maker.
Cleaning the Brew Basket
The brew basket is where you place the coffee filter and grounds before brewing your coffee. To maintain a clean and flavorful brew, follow these steps to clean the brew basket:
Remove the Brew Basket
Carefully remove the brew basket from the coffee maker. Refer to your coffee maker’s instruction manual if you are unsure of how to remove the brew basket.
Clean the Brew Basket
Using a cleaning brush or sponge, scrub the inside and outside of the brew basket to remove any coffee oils, residue, or grounds. Pay attention to the mesh screen if your brew basket has one, ensuring that it is thoroughly cleaned.
Rinse the Brew Basket
Once the brew basket is scrubbed clean, rinse it under clean running water to remove any loosened residue. Ensure that no debris or coffee grounds are left behind before placing the brew basket back into the coffee maker.
Cleaning the Drip Tray
The drip tray is located beneath the brew basket and prevents any coffee spills or drips from dirtying the surface below. Follow these steps to clean the drip tray:
Remove the Drip Tray
Carefully remove the drip tray from the coffee maker. Most drip trays are designed to slide out easily for cleaning.
What Size Grill Do I Need For A Family Of 4?
Clean the Drip Tray
Using hot soapy water, scrub the drip tray to remove any coffee stains or residue. Pay attention to corners or crevices where grime can accumulate. Rinse the drip tray thoroughly with clean water.
Rinse the Drip Tray
Once the drip tray is clean, rinse it under running water to remove any soap residue. Ensure that all surfaces of the drip tray are rinsed clean before placing it back into the coffee maker.
Cleaning the Exterior
Keeping the exterior of your coffee maker clean not only improves its appearance but also ensures that no dirt or grime can enter the brewing system. Follow these steps to clean the exterior of your coffee maker:
Wipe Down the Exterior of the Coffee Maker
Using a damp cloth or sponge, wipe down the exterior surfaces of the coffee maker. Pay attention to any buttons, knobs, or crevices where dust or dirt may accumulate.
Pay Attention to Buttons and Crevices
Use a toothbrush or a soft brush to gently clean any buttons, knobs, or crevices that may be difficult to reach with a cloth or sponge. Be careful not to apply too much pressure or use any abrasive cleaners that may damage the surface.
Cleaning Tips and Maintenance
To ensure the longevity and optimal performance of your coffee maker, here are some additional cleaning tips and maintenance practices to keep in mind:
Regular Cleaning Schedule
Make it a habit to clean your coffee maker regularly to prevent the accumulation of mineral deposits, bacteria, and stale coffee oils. Depending on how frequently you use your coffee maker, aim to clean it at least once a month, or more often if needed.
Descaling Your Coffee Maker
Over time, mineral deposits can build up inside your coffee maker, affecting its performance and the taste of your brewed coffee. Descaling your coffee maker removes these deposits and helps maintain its efficiency. Follow the manufacturer’s instructions on how to descale your specific coffee maker model.
Use Filtered or Distilled Water
Using filtered or distilled water in your coffee maker can help reduce mineral buildup and prolong the lifespan of the machine. If your tap water is particularly hard or has a high mineral content, consider using filtered or distilled water every time you brew.
Avoid Harsh Chemicals or Scrubbing
When cleaning your coffee maker, avoid using harsh chemicals or abrasive scrubbing pads as they may damage the machine’s surfaces. Stick to mild dish detergent and gentle cleaning tools to ensure the longevity and appearance of your coffee maker.
Proper Storage and Drying
After each use, make sure to empty and rinse the coffee maker thoroughly. Allow all components to air dry before reassembling and storing the coffee maker in a clean and dry place. Proper storage and drying help prevent the growth of mold or bacteria.
Is It Worth Buying A Griddle Pan?
By following these comprehensive cleaning steps and tips, you can keep your coffee maker sparkling clean and ensure a delicious cup of coffee every time. Regular maintenance and care will prolong the life of your coffee maker, allowing you to enjoy its benefits for years to come. Happy brewing!


